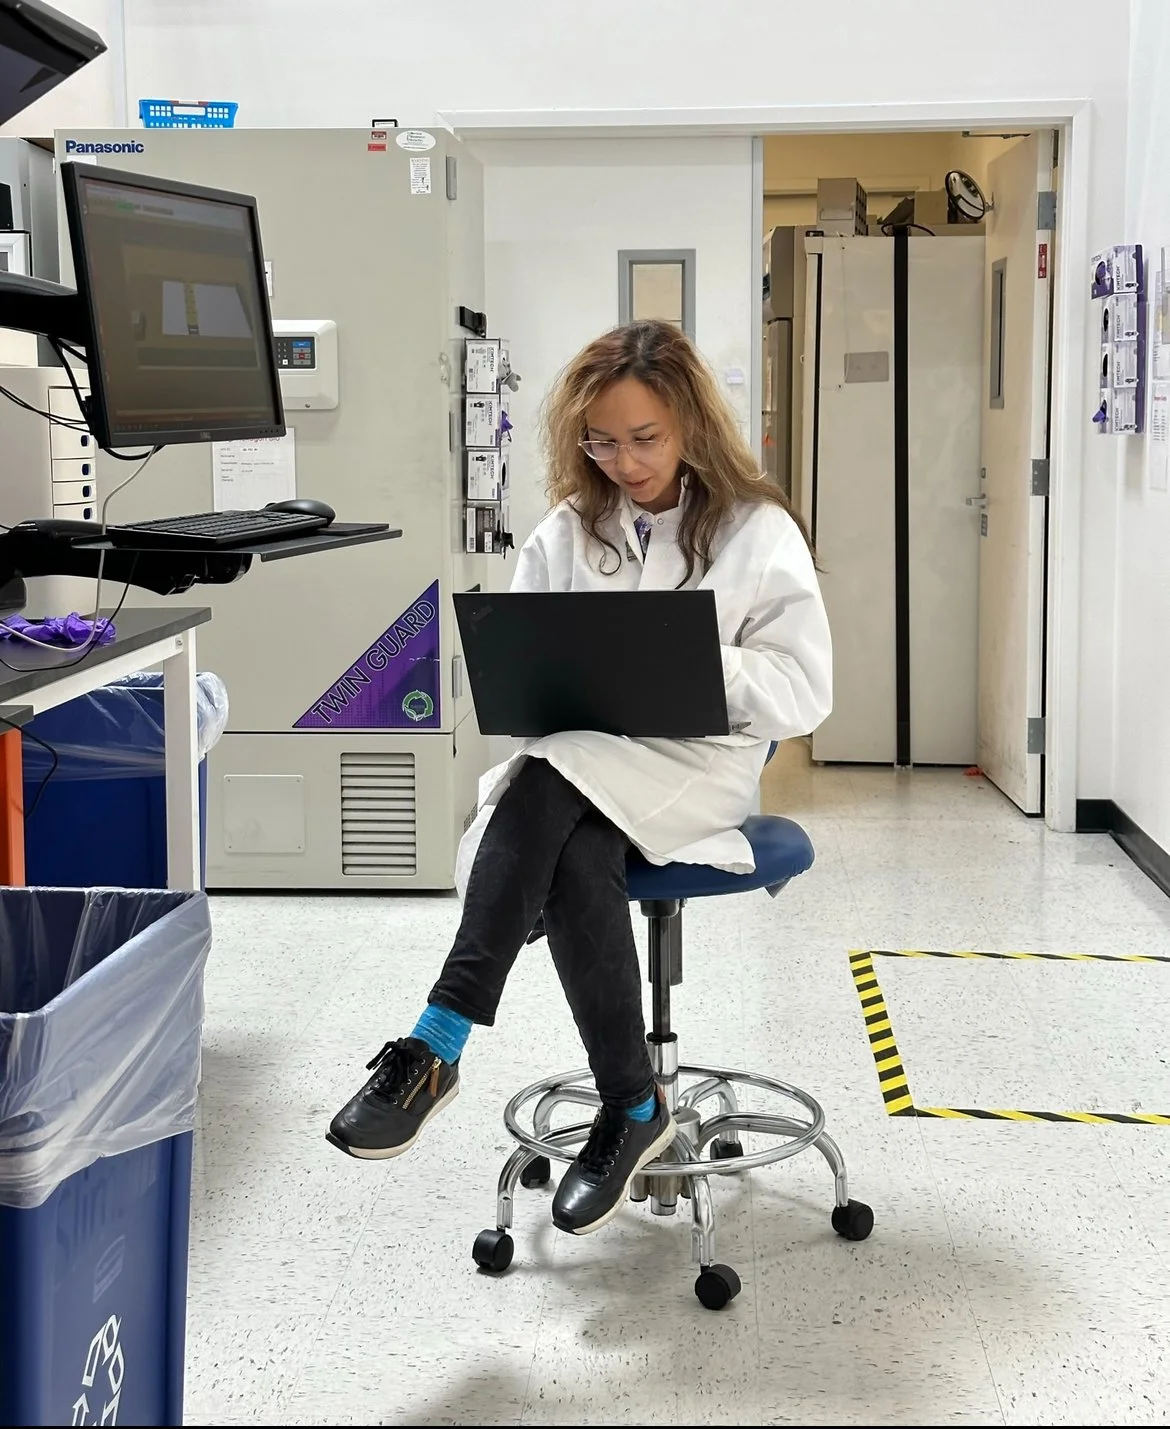
As part of my role, I prioritized safety around lab automation equipment, ensuring that all users could operate the systems confidently and without risk. I trained over 40 scientists and research associates on how to safely use Hamilton robotics systems, emphasizing proper handling techniques and safety protocols. This included step-by-step guidance running methods which I developed for them. Additionally, I replaced HEPA filters on the Hamilton equipment to maintain a sterile environment, particularly when working with BSL-2 microbes. This not only preserved the integrity of the experiments but also protected scientists from potential toxic exposure. My focus on creating a safe and efficient working environment helped foster trust and reliability in the lab's automated workflows
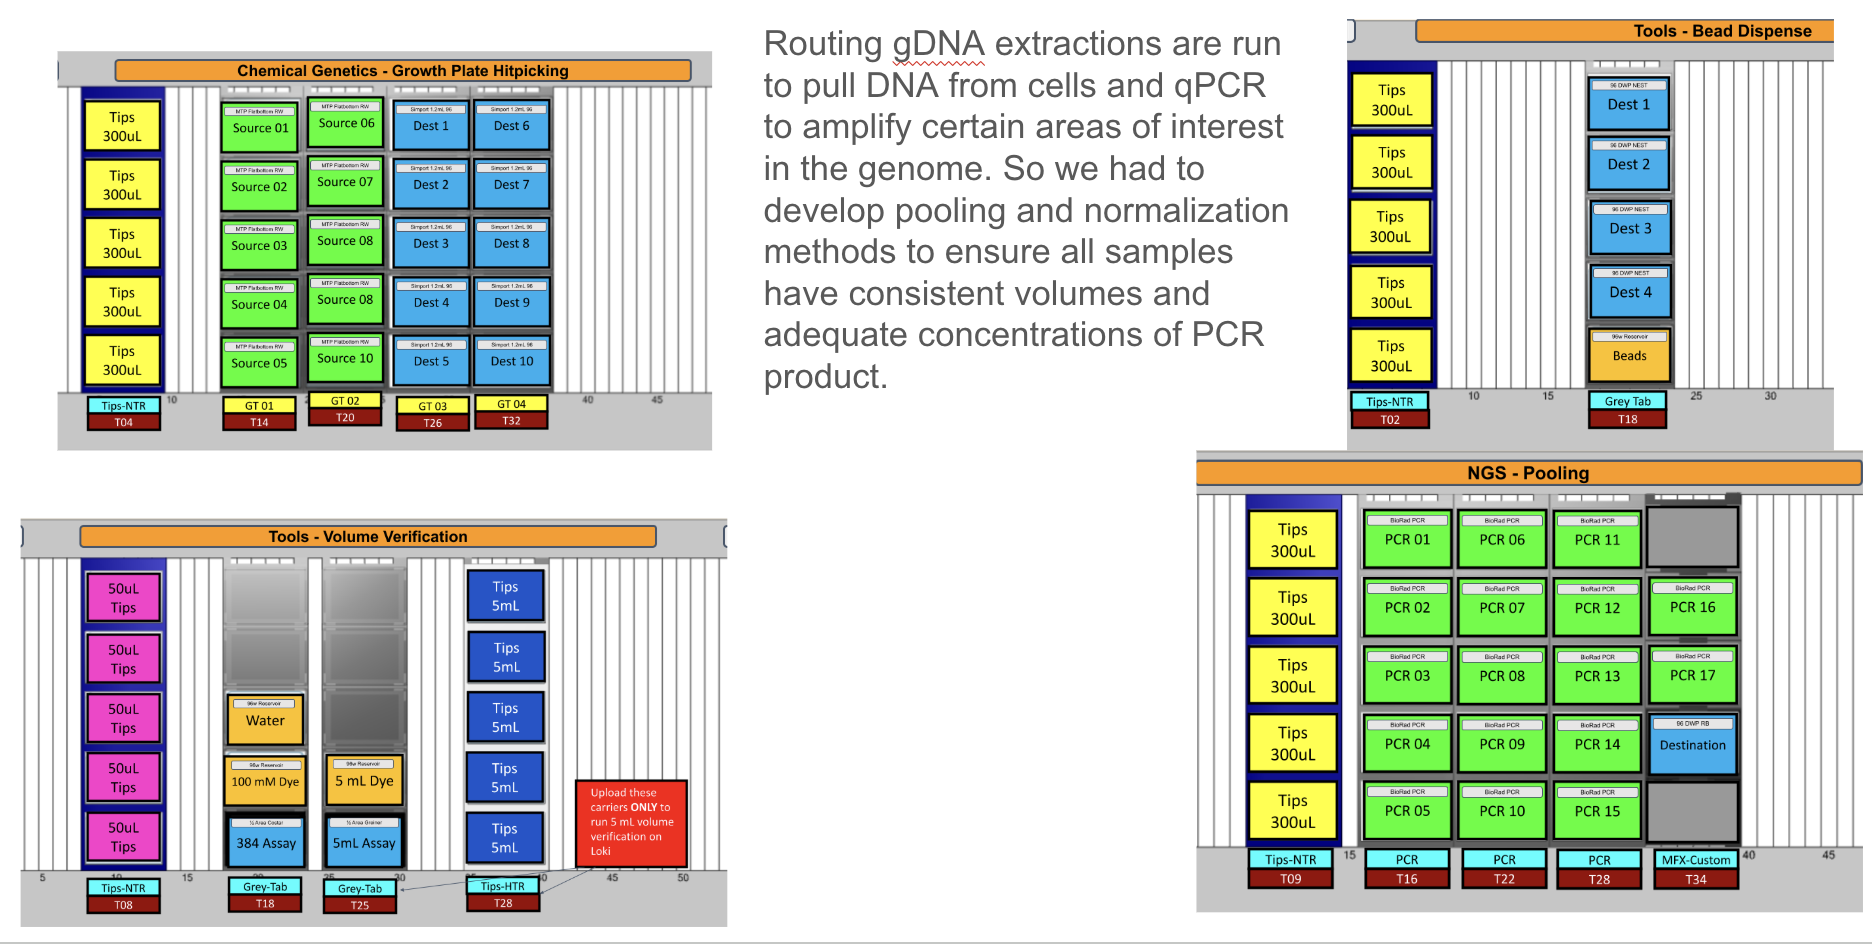
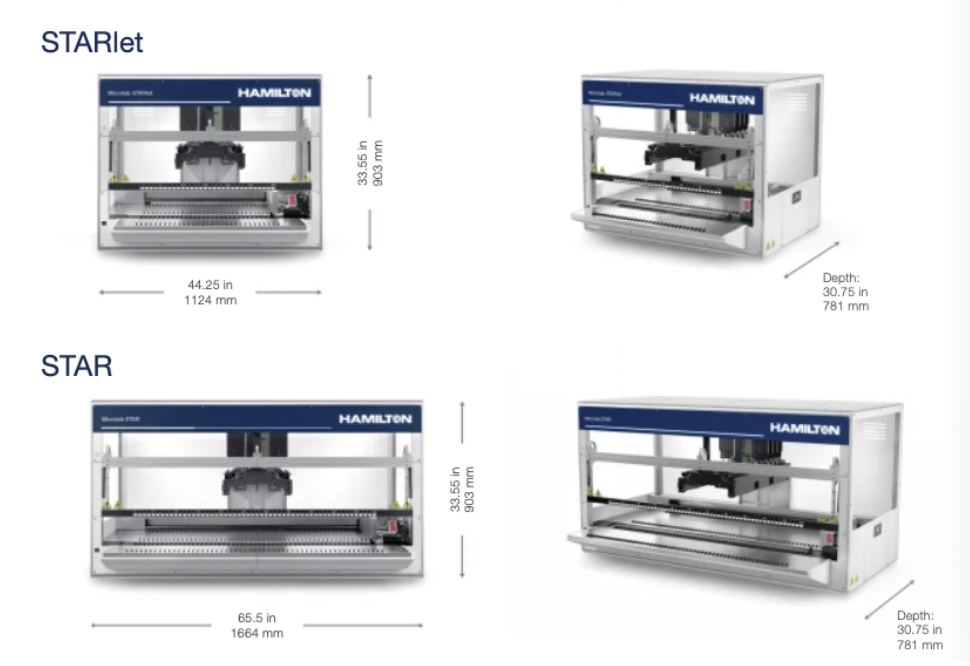
8 examples of Decks I have developed (which are set on a Hamilton robot) and a small description of methods:
Scientist- Centric Design
In my role as a Lab Automation Engineer, I developed over 50 custom methods and editing more than 200 deck images (I’ve included eight examples in the next two slides). These methods were crafted with a singular goal in mind: to create solutions centered around scientists' needs and workflows. Each deck image—the first thing a scientist sees when they power on the robot—serves as a visual guide, showing where to place reagents and which labware to use. Every deck image, unique and meticulously designed, was paired with the Hamilton methods I developed in close collaboration with the scientists themselves.
Through interviews and observations, I tailored each method to align seamlessly with their physical setups, operational habits, and workflows. Beyond functionality, safety was paramount—I thoughtfully arranged reagents and plates to minimize risks, ensuring that accidents like finger injuries in the lab were virtually eliminated. This scientist-centered approach wove together usability, efficiency, and safety, reflecting my dedication to thoughtful design.

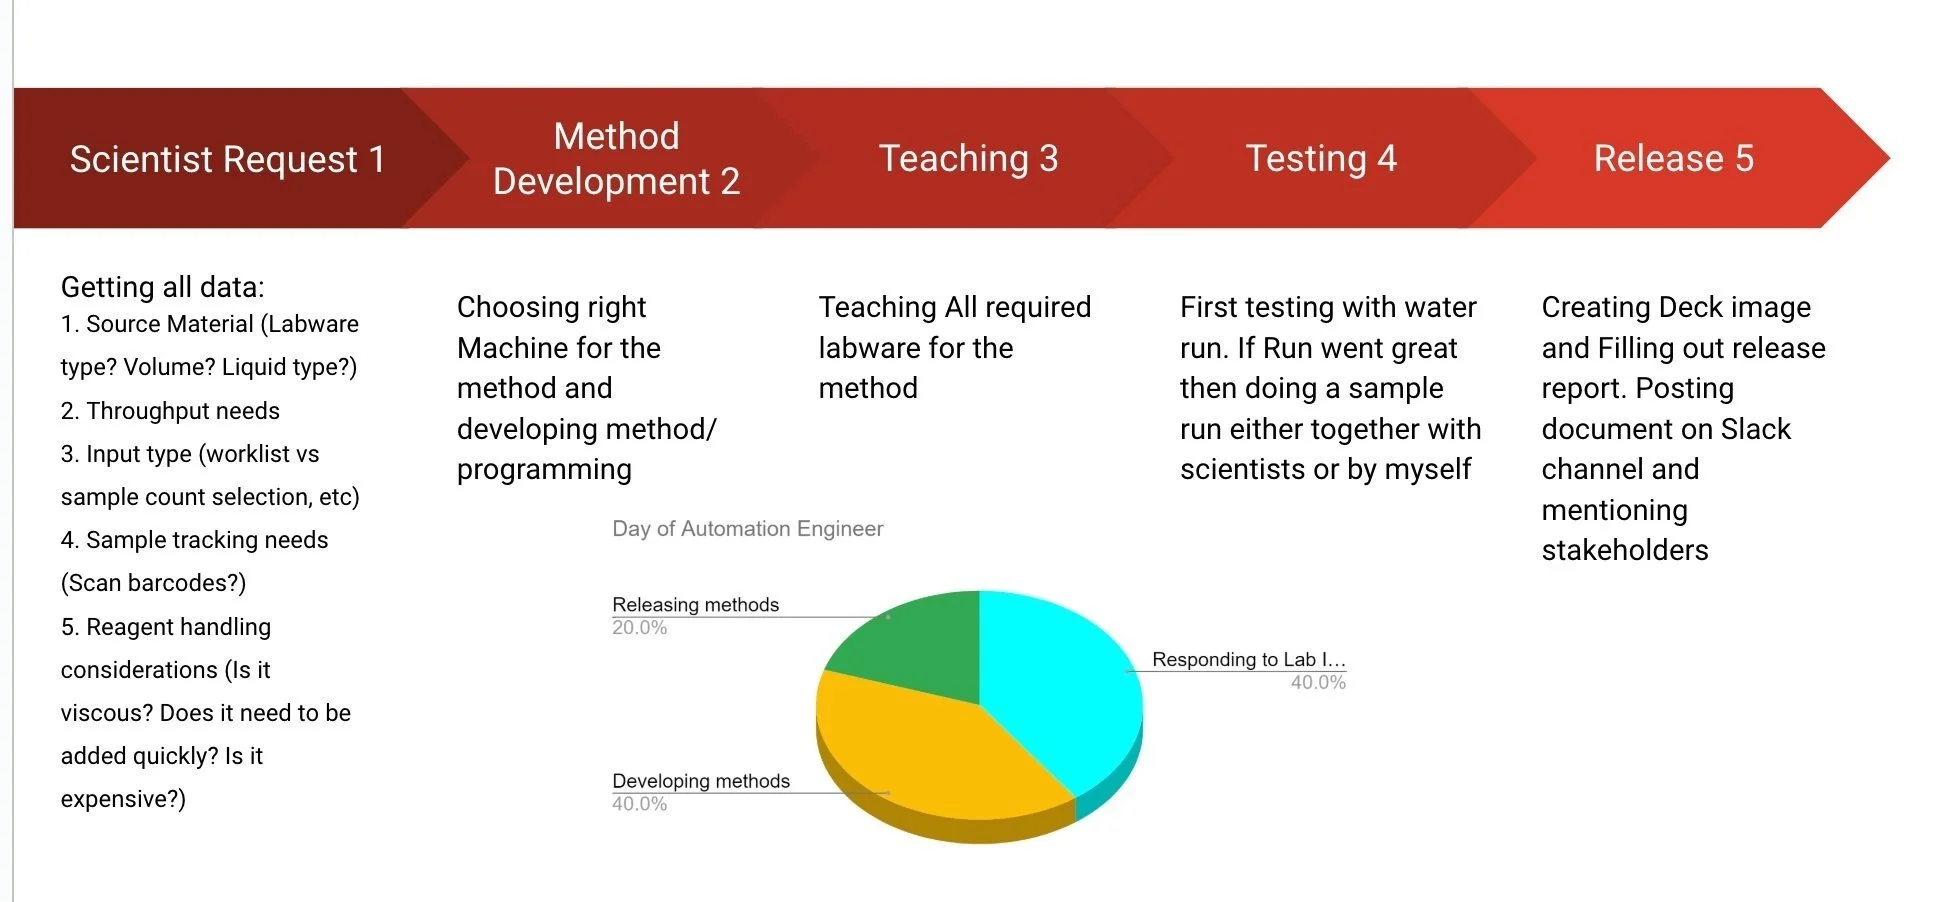
Method Development Process

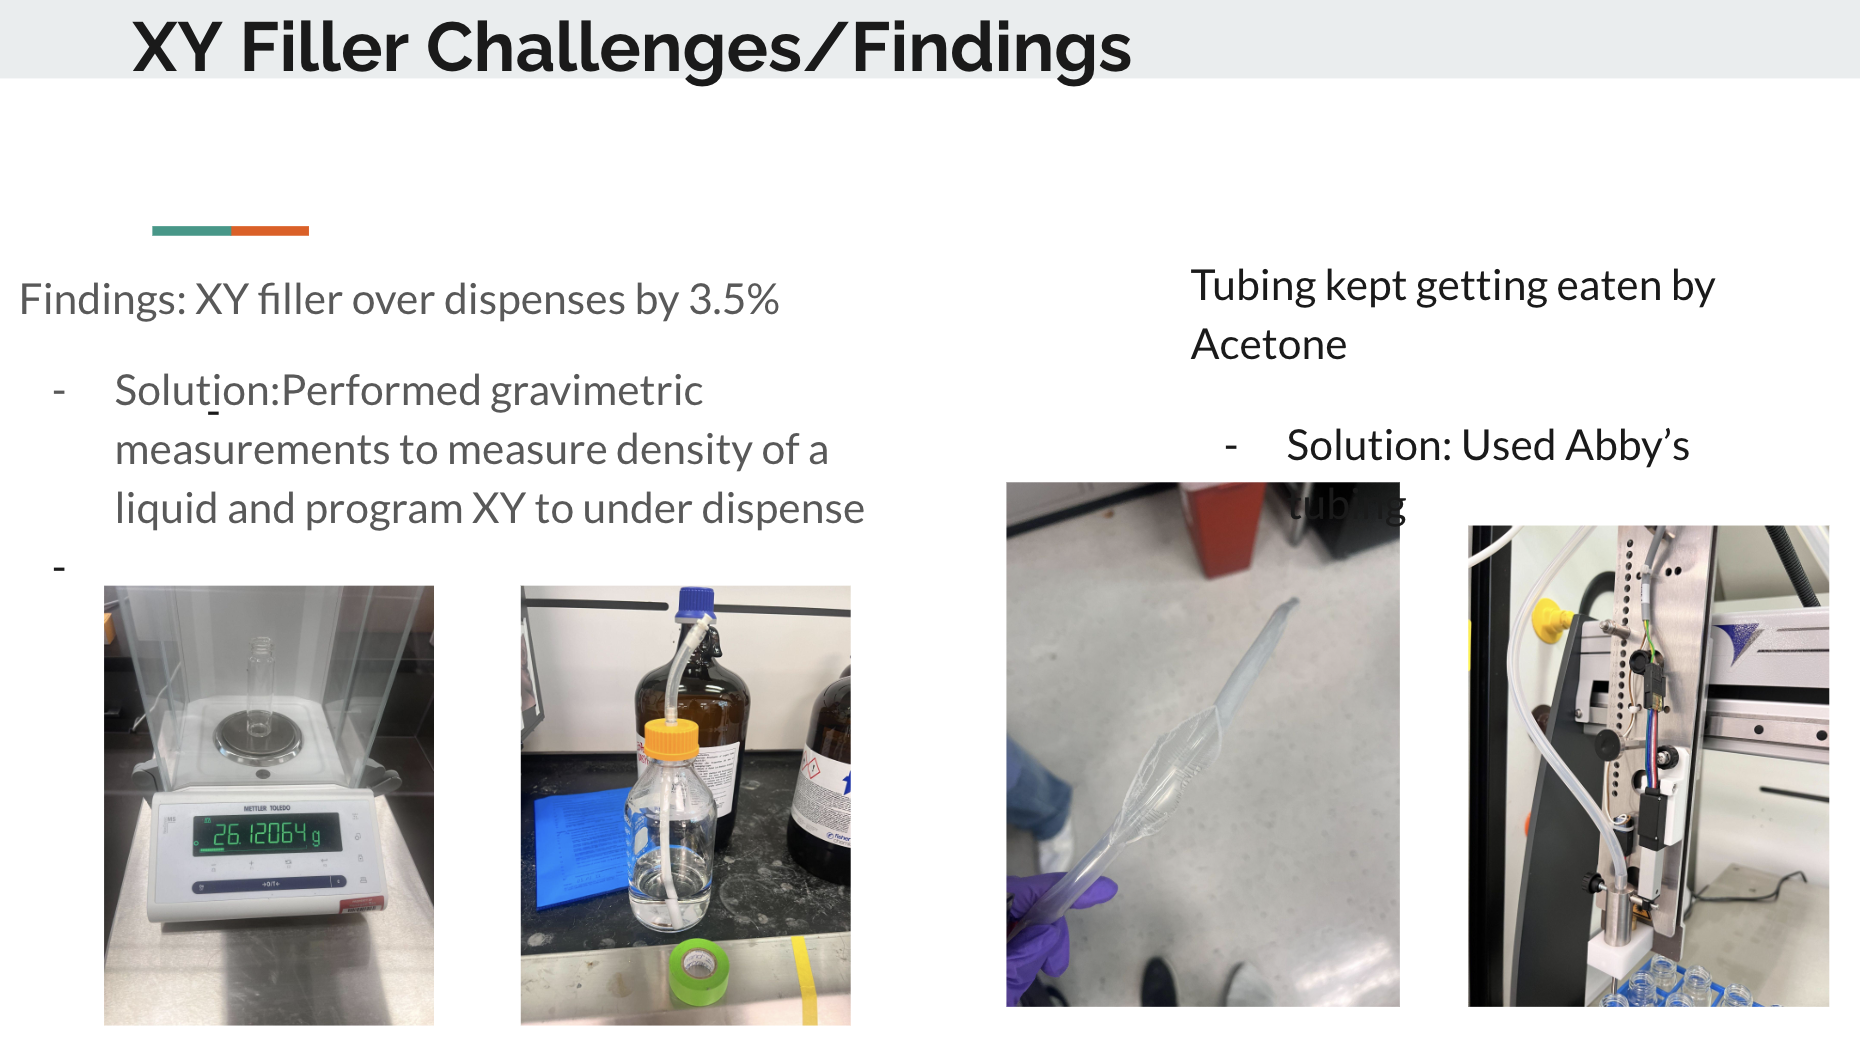
Picture of XY filler: testing different media dispense
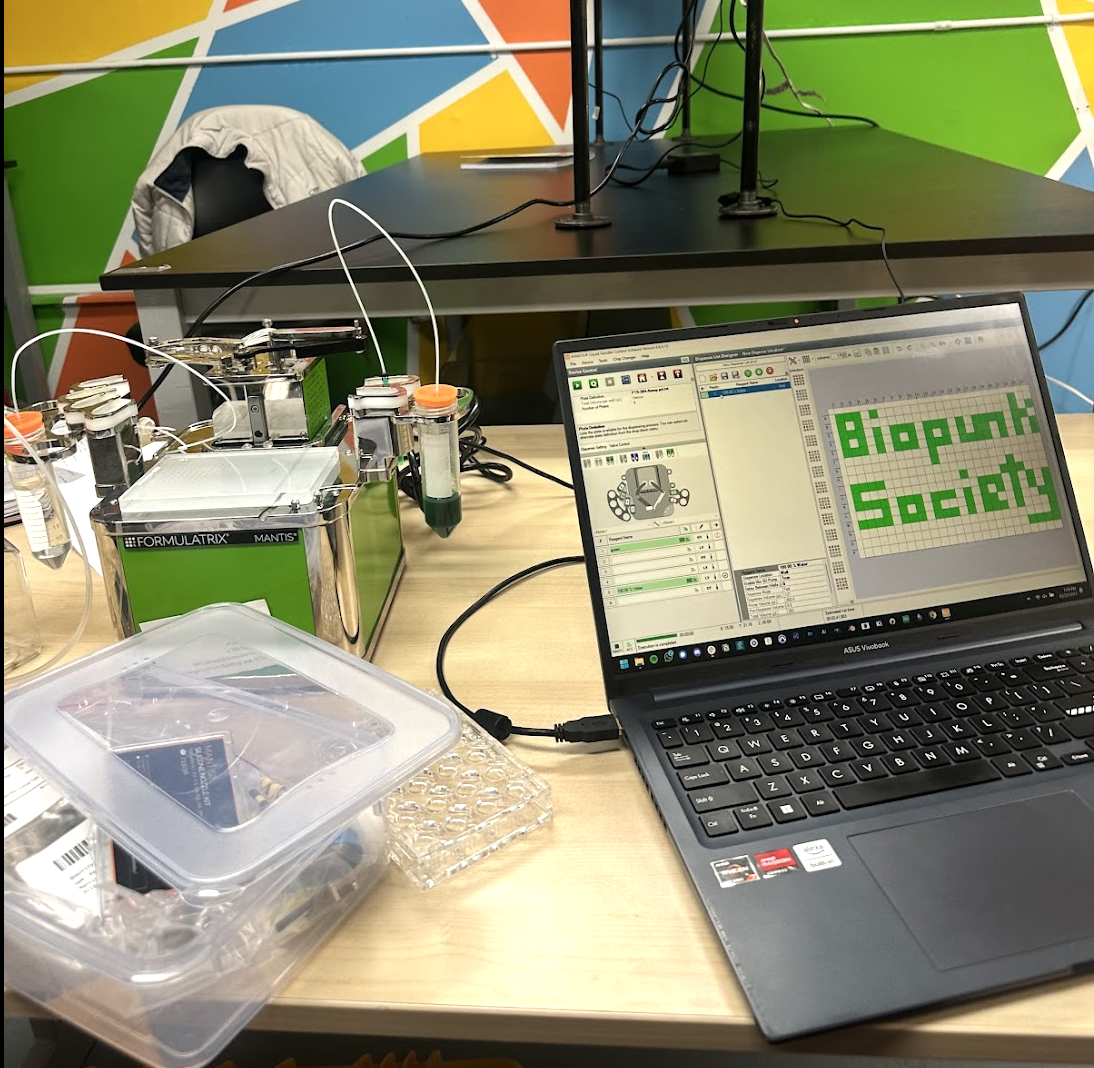
Another robot I worked with called Mantis is used mostly for micro dispense great for mRNA Vaccine delivery.
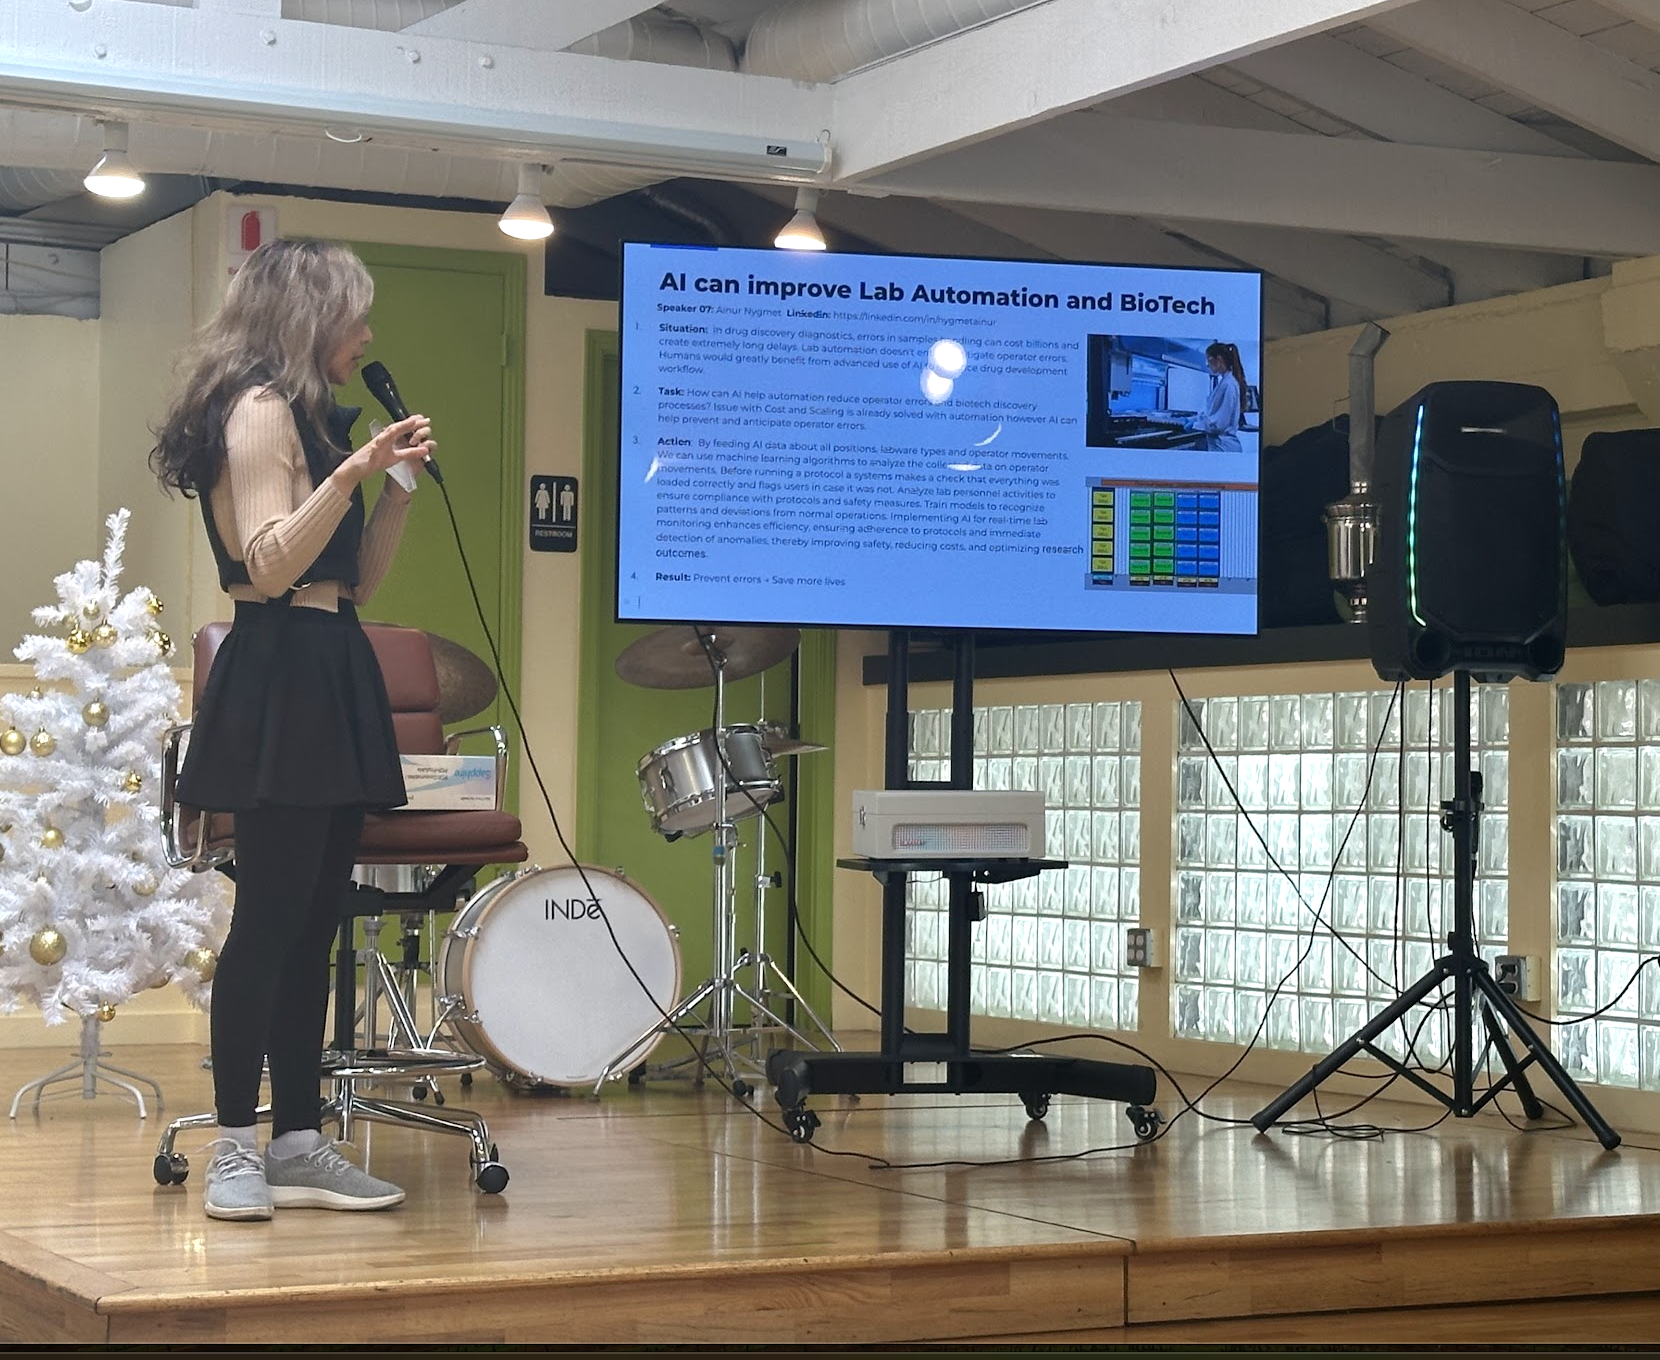

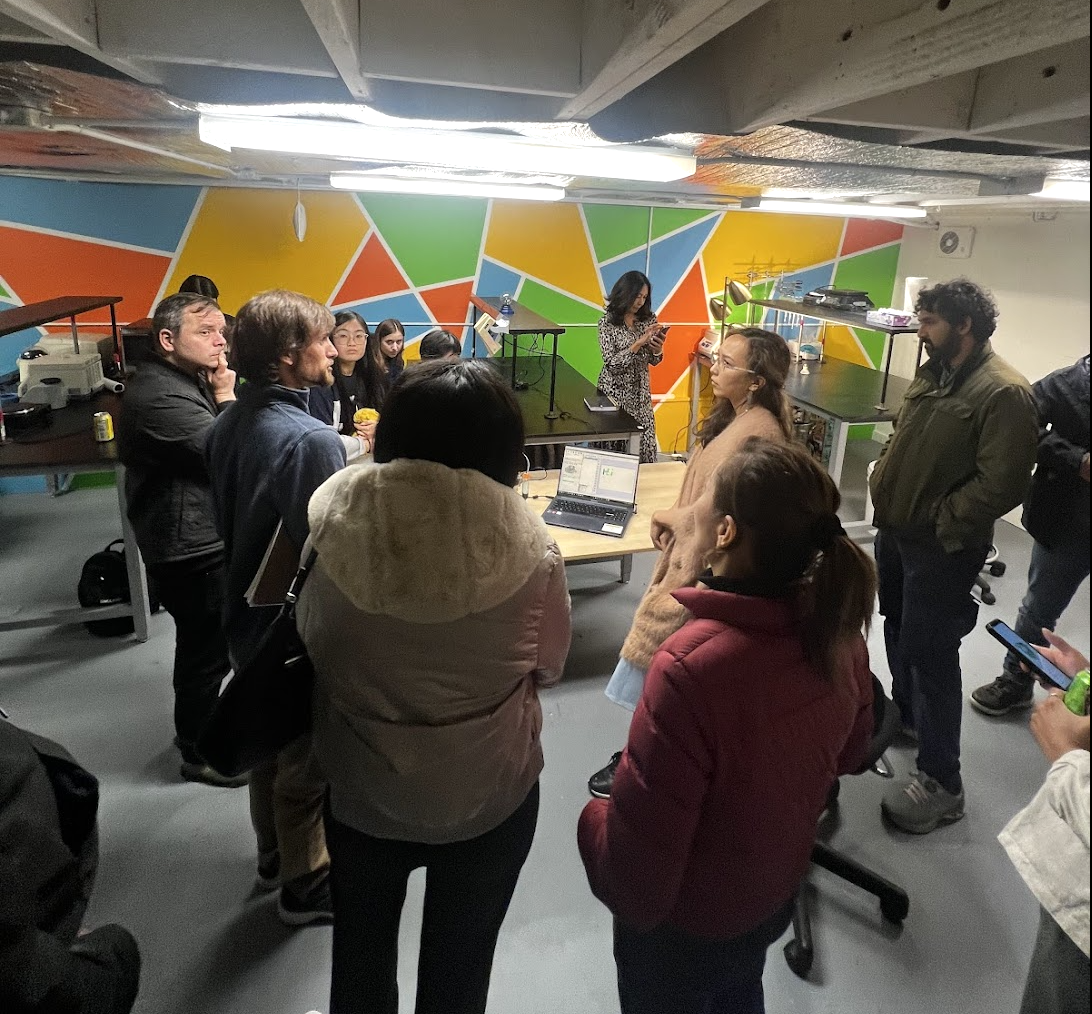
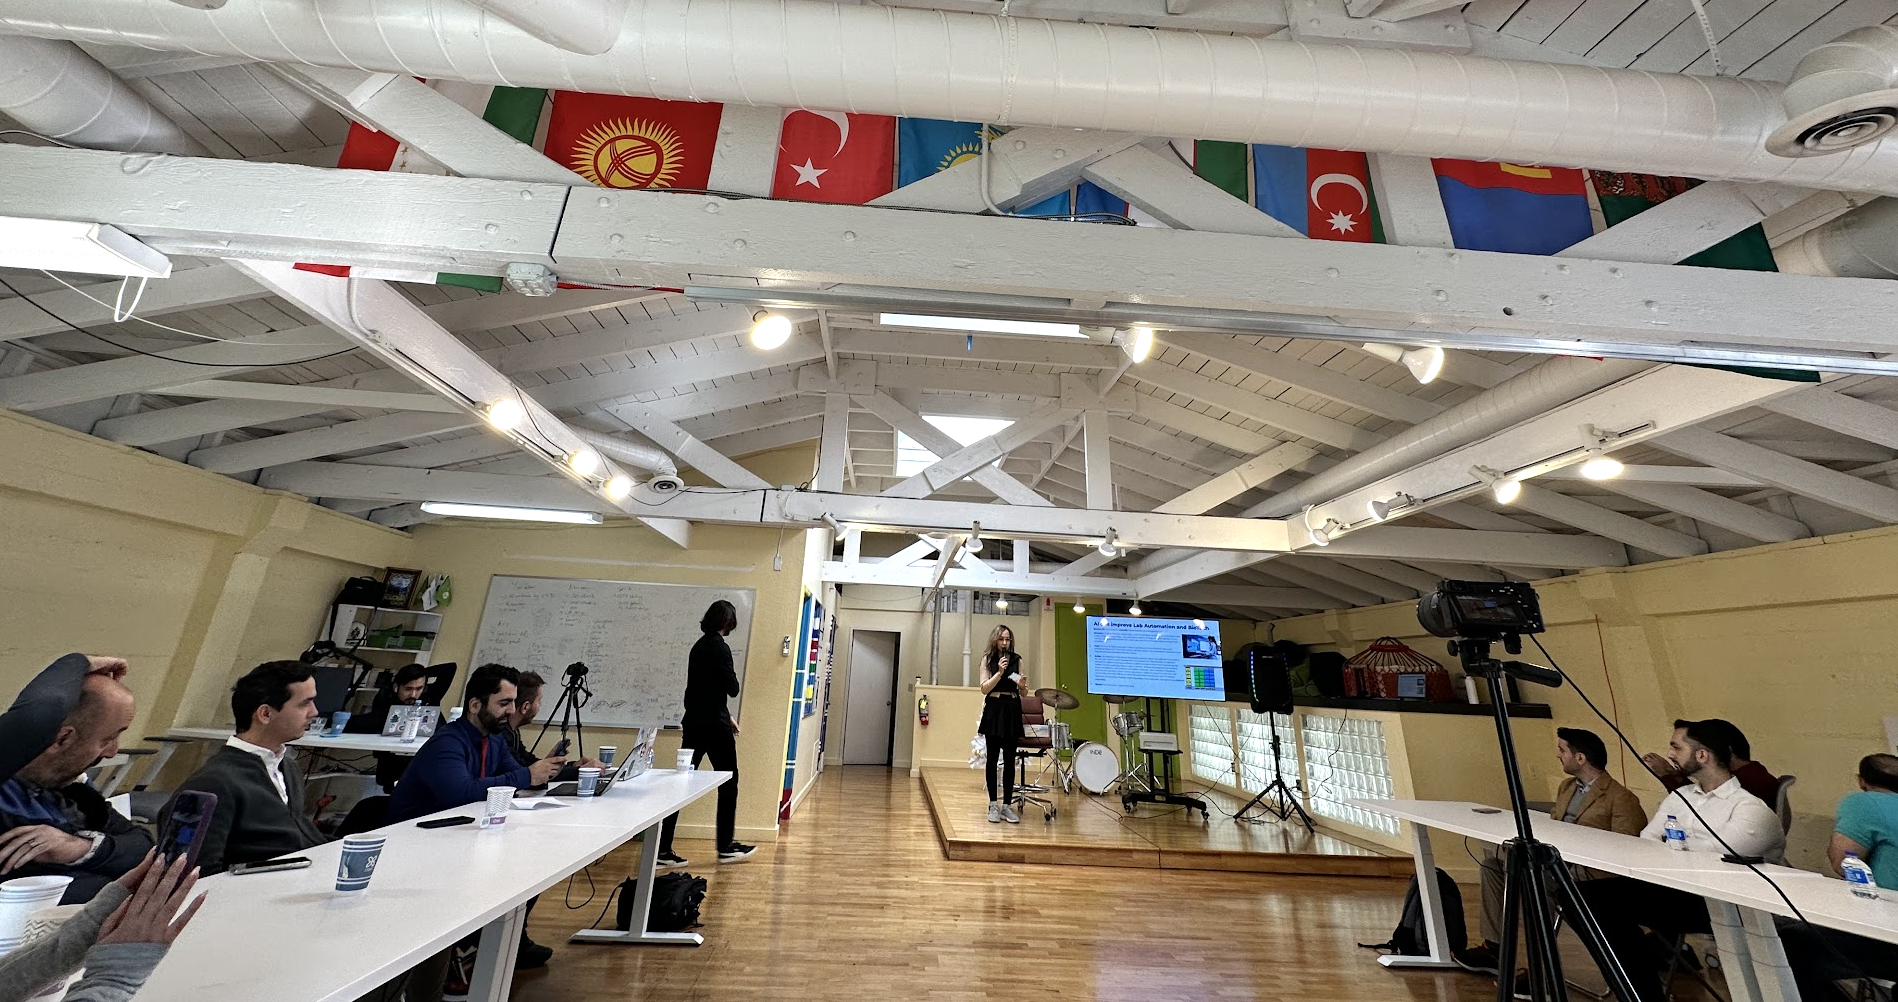
A year ago I gave a workshop at BioPunk Society in SF about Lab Automation and SilkRoad Innovation Hub in Palo Alto during Tech Crunch Week. I enjoy teaching people how to use robots and also running interactive workshops.


Video of a Hamilton Robots average robots costs 100-300k
At Hexagon, as well as other companies I worked for, we had a Workcell. What is a Workcell, you may ask? It’s typically a robotic piece of hardware integrated with automation systems, designed to streamline repetitive tasks, enhance precision, and ensure safety in laboratory or industrial workflows. Most Workcells, even in leading companies like Ginkgo Bioworks, often utilize HighRes Biosolutions hardware, with Cellario being the software of choice to operate and manage these systems efficiently. I have a special Certification to operate it it usually costs 7.5k.
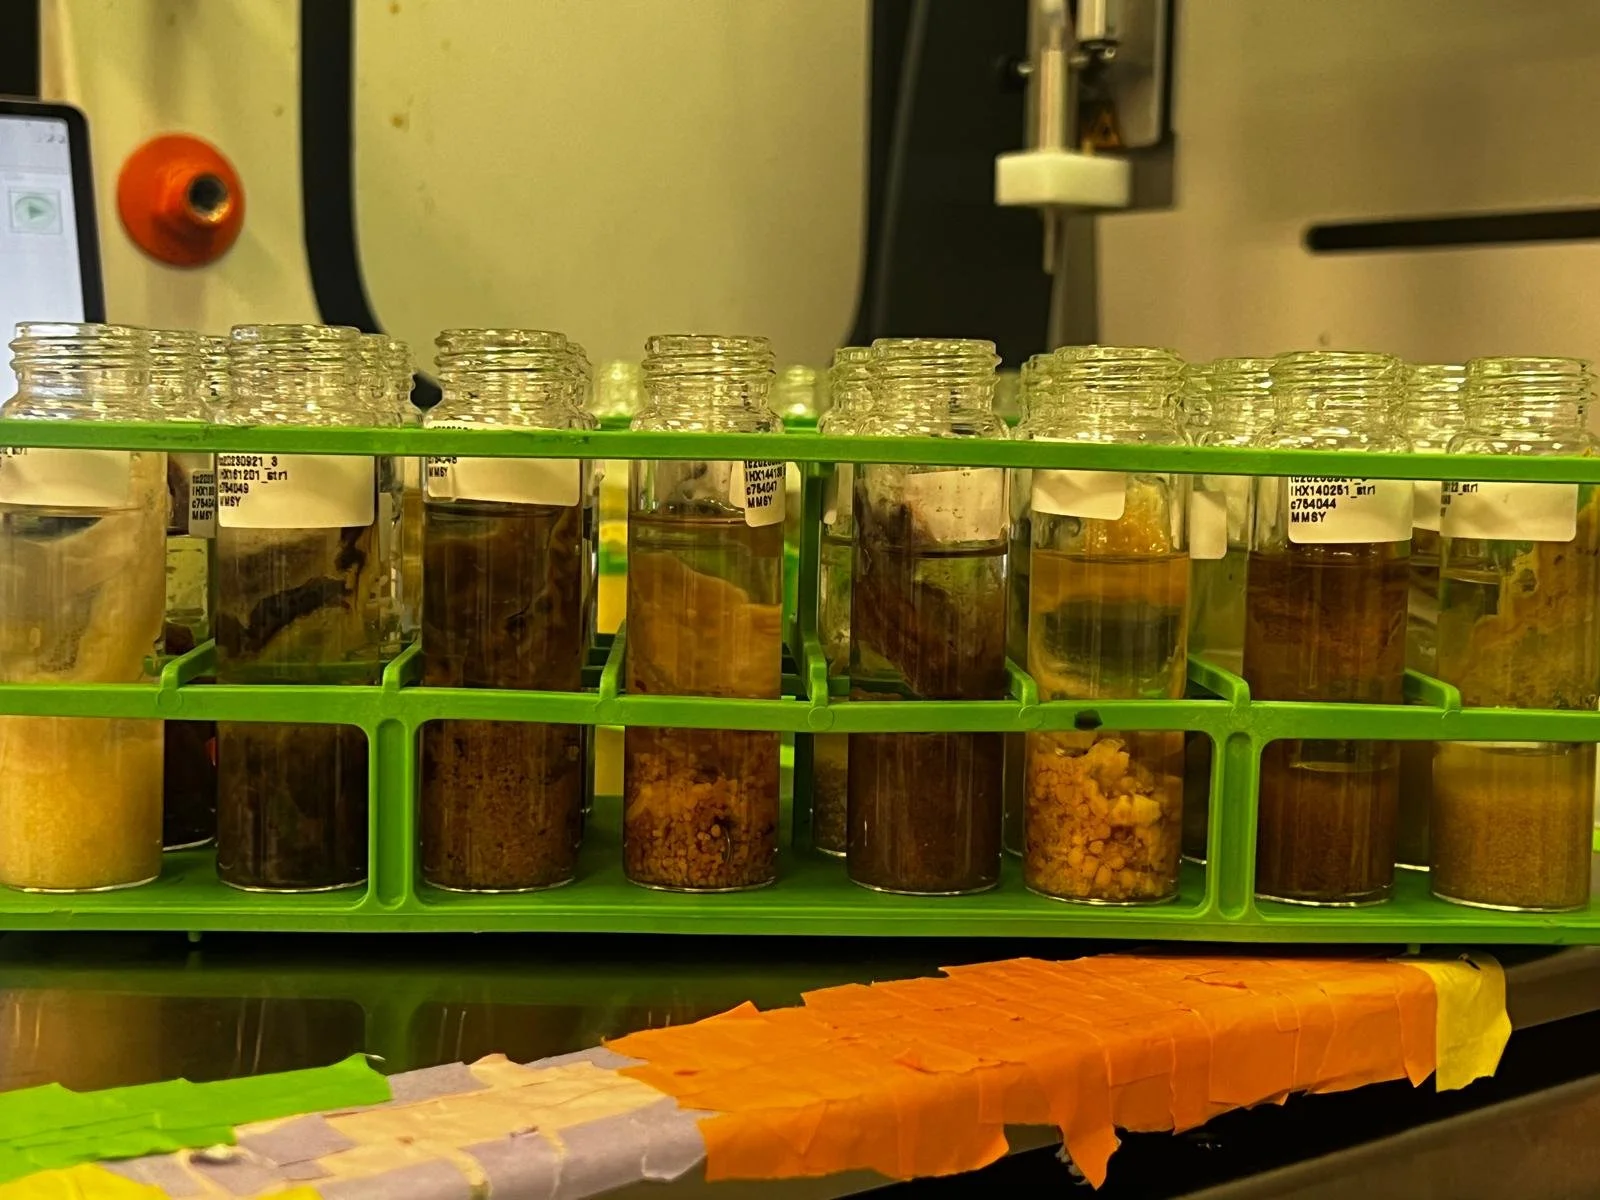
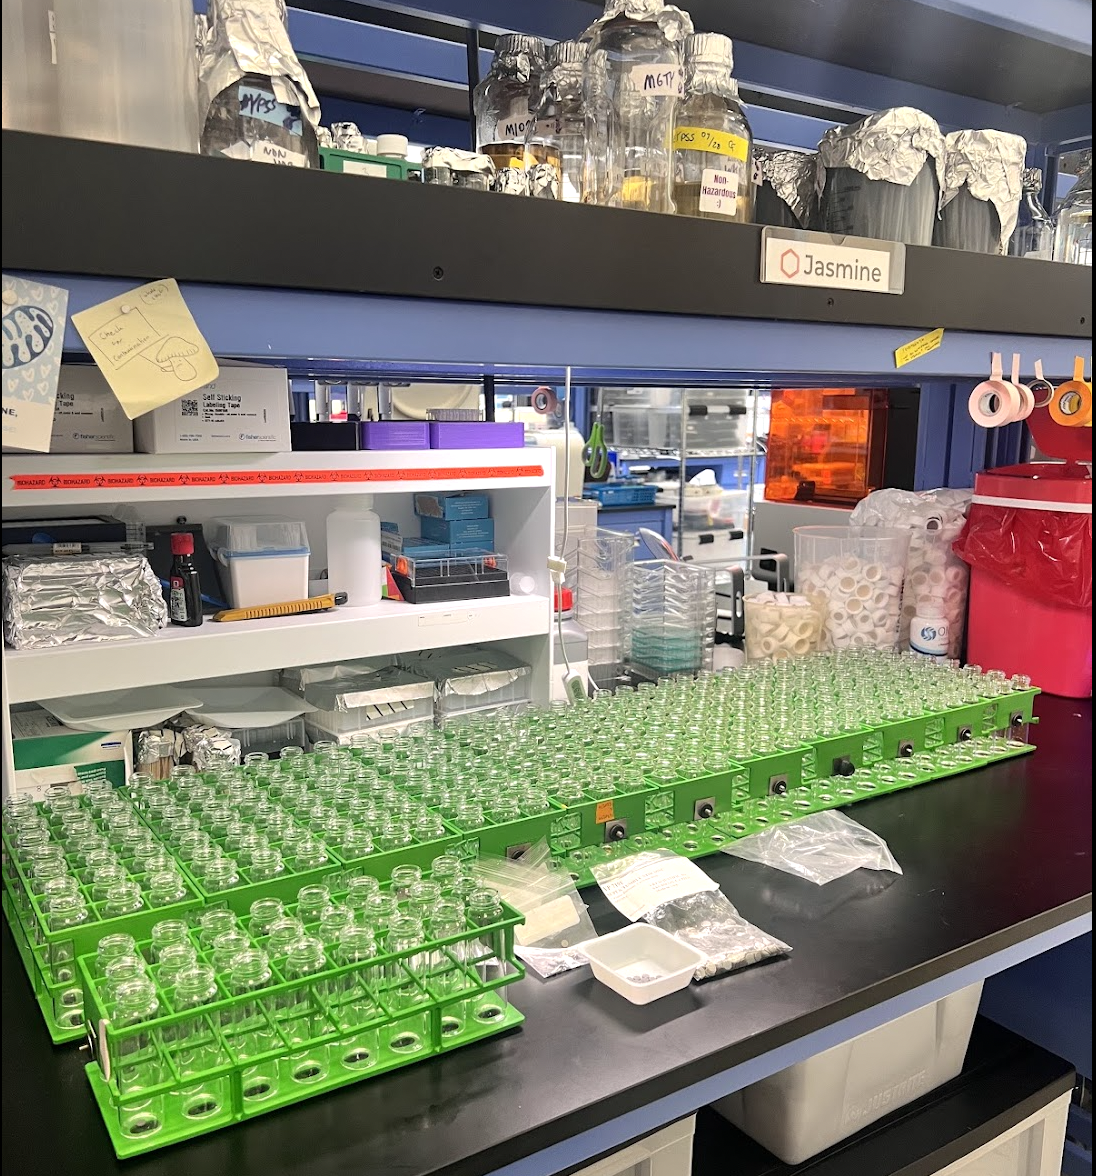
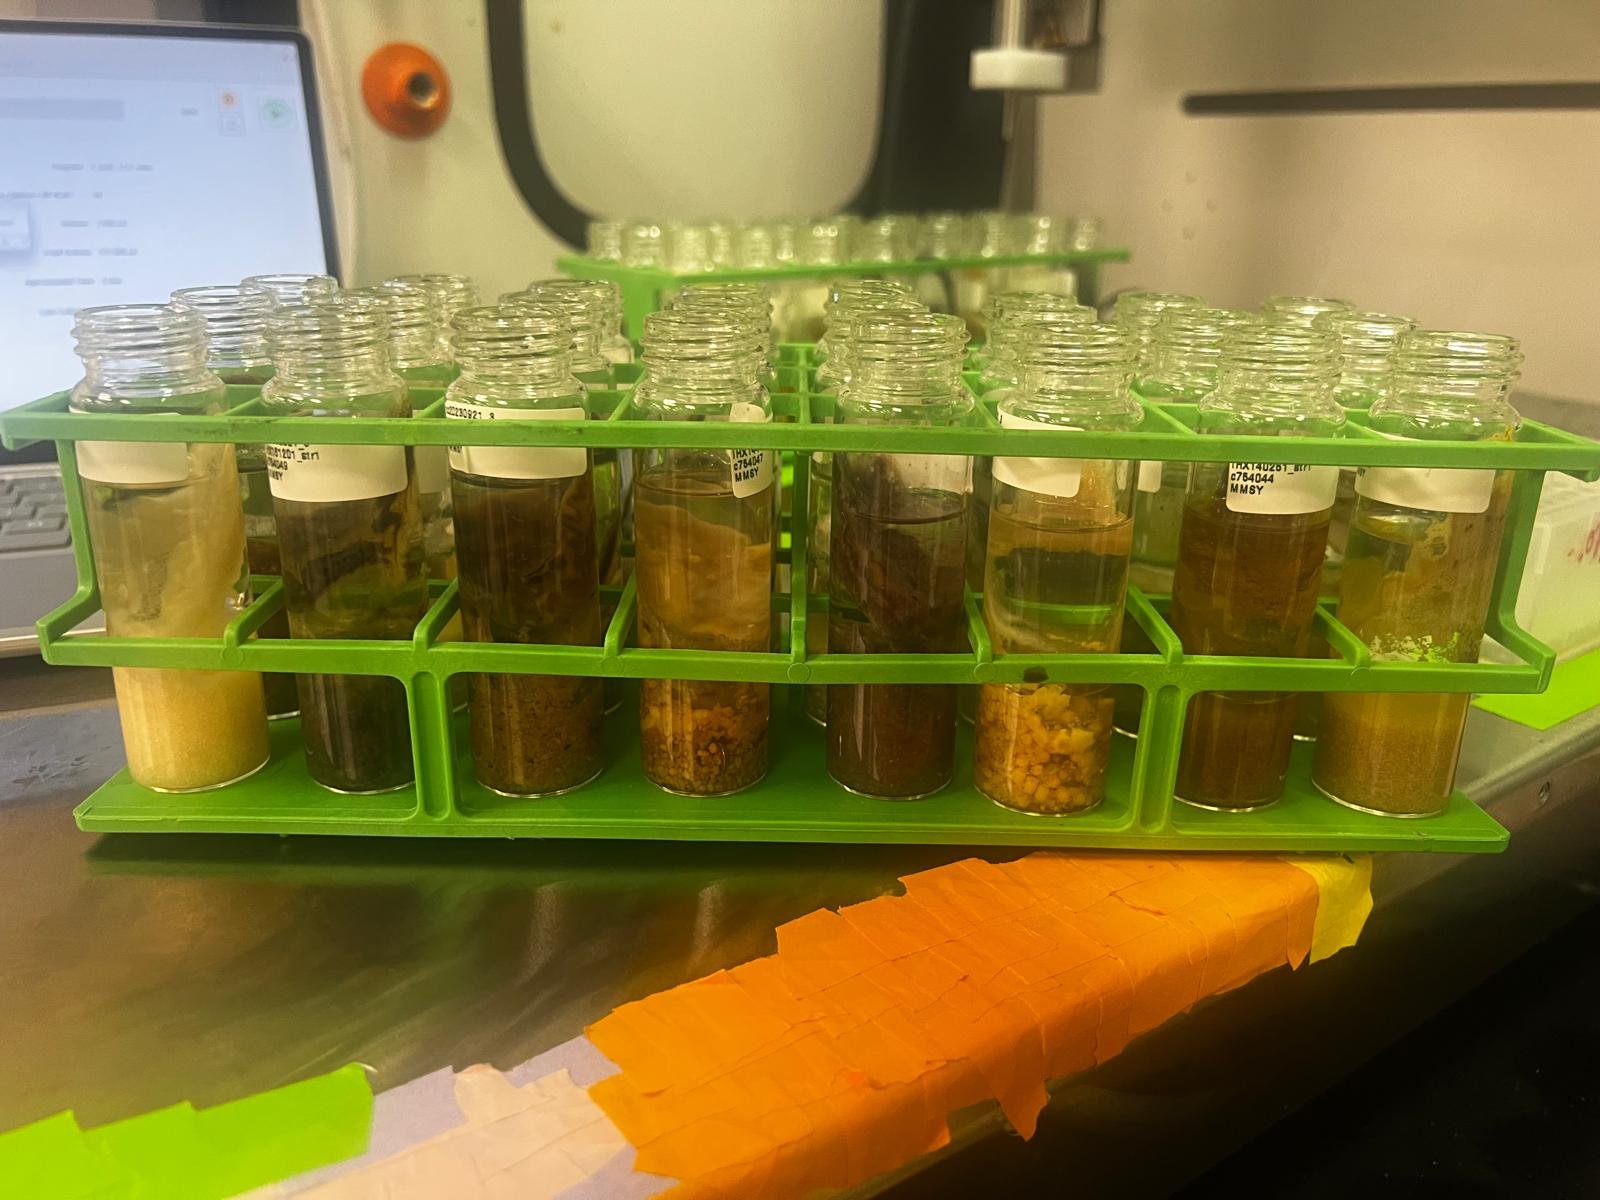
To verify that XY filler was dispensing the correct amount of liquid I tested it on over 1000+ bottles with different types of media.
After dispensing from the XY filler the next step was to get the media out and dispense them into the plates. Below you can see how I tought it on the robot and developed a method for it on Hamilton and then ran it with real samples on a robot.

Here’s the fully consolidated and grouped list of methods I developed:
Cell Culture
Dilution Plating
Electroporation Transformation
Plasmid Prep
Plating
Chemical Genetics
Aliquotting
Colony Hitpicking
Glycerol Stock and Pooling
Growth Plate Hitpicking
Inoculation from Omnitrays
PCR Setup
Pooling
qPCR Dilution and Setup
Chemistry
LCMS Multiplex Hitpicking
Drug Discovery
NPL Dilution
NPL Hitpicking
NPL Onboarding
Forward Genetics
6 Cell Dispense
24 Well Cell Dispense
24 Well Compound Dispense
WGS (Whole Genome Sequencing)
gDNA Normalization
Library Amplification Hitpicking
Library Normalization
Library Pooling
qPCR Dilution
Fungen
gDNA Extraction
Index Primer
Index Primer Stamp
Frag Prep
Amplicon Normalization
Bead Purification
Lightbench Size Selection
PCR Setup (old)
PCR Setup (plates)
PCR Setup
FragAmp
Channel-based Bead Purification
Lightbench Analytics
NGS (Next-Generation Sequencing)
DNA Addition
Double Sided Bead Clean
High Volume Bead Purification
Normalization
Pooling (384)
Pooling
PlasMod
Deletion HitPicking
Ligation
Plasmid Pick and Norm
PlasMORE
Dilution 1 100 Preparation
Dilution Plating
Fragment Batch Normalization
Hitpicking (384)
Hitpicking
PCR to VB Dilution Hitpicking
Plate CherryPick
Plate Dilution
Plate Resuspension
Resuspension
Quantification
Lunatic Stamp
Reagent Prep
PCR Bead Dispense
Yeast Plasmid Extraction
Standard Parts
Normalization and Aliquot
Post PCR Pooling
Secondary Pooling
Synthetic DNA
Consolidation Normalization
Dilution
Resuspension
Tools
Glycerol Stock Prep
IDT VB Plate Processing
IDT VB Plate Stamping
Lightbench Quantification
Pico Hitpicking
Plate to Tube Hitpick Transfer
Reagent Dispense
Tip Consolidation
Volume QC
Volume Verification
Yeast
Amplicon Hitpicking
Backbone Digestion
Backbone Heat Shock
Backbone Normalization and Aliquot
Bead Extraction
Transformation